
Cinematic Mode and Video Mode both capture video on your iPhone, but they serve different types of shots. One favors a sharp subject with a soft, blurred background; the other keeps almost everything in focus. If you have ever typed cinematic mode vs video iPhone into a search bar, you were really choosing between those two looks.
This guide explains the key differences between the modes, when to pick each one, which iPhones support Cinematic Mode, and where the limits appear. You will also see how editing works and why Cinematic clips give you more control after you record. For deeper tips, see our Cinematic Mode tips guide, and step‑by‑step walkthroughs.
By the end, you will know exactly which icon to tap for any shot. Read through the sections, then test both modes on your next video and compare the results side by side.
“Cinema is a matter of what’s in the frame and what’s out.” — Martin Scorsese
Choosing between Cinematic Mode and Video Mode is really about deciding what needs to be sharp inside that frame.
Key Takeaways
Before diving into details, it helps to see the big picture. These quick points cover the main ideas from this cinematic mode vs video iPhone comparison. You can come back to this list whenever you feel stuck in the Camera app.
- The core difference is how each mode handles depth of field. Cinematic Mode uses software and depth data to blur the background and keep your subject sharp. Video Mode relies on the physical lens, so almost everything stays in focus.
- Cinematic Mode gives you a film‑style look. It separates your subject from a busy room or street and can add smooth focus shifts between faces or objects as the scene changes.
- Regular Video Mode is the safer choice when action matters more than blur. Fast sports, kids running, and quick events need high frame rates and steady focus, which you get in standard video.
- Only iPhone 13 and later support Cinematic Mode in the built‑in Camera app. Pro models such as iPhone 15 Pro, iPhone 16 Pro, and iPhone 17 Pro add more focal lengths for this feature. Older models need third‑party apps to mimic the effect.
- Cinematic Mode footage stores extra depth data alongside the video. That lets you change focus, adjust background blur, or even turn the effect off later in Photos or Final Cut Pro. Regular video cannot do that.
What Is The Difference Between Cinematic Mode And Video Mode On iPhone?
The cinematic mode vs video iPhone debate comes down to depth of field and focus behavior. Cinematic Mode uses Apple’s Neural Engine to simulate a shallow depth of field, while regular Video Mode relies on optics to keep most of the frame sharp. This is the heart of the cinematic mode vs video iPhone choice.
In Video Mode, the iPhone sensor and lens record the scene as it is. Because phone sensors are small, you naturally get a deep depth of field, so foreground and background are both sharp. This works well when you want clear detail across the whole frame, like a family gathering or a wide shot of a stadium.
Cinematic Mode behaves differently. It scans the scene in real time, builds a depth map, then keeps your chosen subject crisp while blurring what is in front and behind. According to Apple Support, newer models such as iPhone 15 Pro record Cinematic video in up to 4K HDR at 30 fps, while still saving this extra depth data. That is how you get a film‑like blur without a large dedicated camera.
Focus behavior changes as well. Regular Video Mode uses standard continuous autofocus that tracks whatever is closest or near the center. Cinematic Mode adds automatic rack focus, where the phone smoothly shifts focus from one face or object to another when the story calls for it. You can also take manual control, which you will see in the next section.
In exchange for this style, Cinematic Mode has limits. File sizes are larger because of the depth map, and frame rates top out lower than standard video. Regular Video Mode offers higher frame rates such as 4K at 60 fps on many iPhones, so it handles fast action and slow motion much better.
Quick Comparison: Cinematic Mode Vs. Video Mode
This cinematic mode vs video iPhone comparison gives you a fast side-by-side view. You can treat this table as a pocket guide whenever you ask yourself which setting to use. Notice how the strengths of one mode line up with the limits of the other.
| Feature | Cinematic Mode | Video Mode |
|---|---|---|
| Depth of field | Shallow, adjustable blur around subject | Deep focus across most of the frame |
| Focus behavior | Automatic and manual rack focus between subjects | Standard continuous autofocus on main subject |
| Max frame rate | Up to 4K at 30 fps on newer models | Up to 4K at 60 fps, plus high speed slow motion |
| Resolution and HDR | 1080p or 4K with Dolby Vision HDR on supported iPhones | 1080p or 4K, also supports HDR on recent models |
| Post editing flexibility | Stores depth map, lets you change focus and blur later | No depth map, focus and depth are baked in |
| Best use | Interviews, vlogs, short films, food and product shots | Sports, events, landscapes, run and gun clips |
| File size | Larger because of extra depth data | Smaller and easier to manage |
| Device support | iPhone 13 and later only | All recent iPhones with video recording |
How Does Cinematic Mode Actually Work?
Cinematic Mode works by using the iPhone chip and Neural Engine to separate your subject from the background in real time. Instead of only recording colors and brightness, the phone also records a depth map for the whole scene. This is the big change from regular video in the cinematic mode vs video iPhone choice.
The Camera app looks for faces, bodies, pets, and strong shapes as you frame the shot. It draws a yellow box around the current subject, which means that person or object is in sharp focus. At the same time, it may show gray boxes around other possible subjects that are detected but not in focus yet. According to Apple Developer, this depth segmentation runs on every frame using the A‑series Neural Engine.
As your subject moves, the iPhone updates the depth map many times per second and keeps that yellow‑framed subject sharp. If a new person enters the scene or looks toward the camera while the first person looks away, the phone often shifts focus automatically to match how a human camera operator would react. This creates the classic movie‑style focus pull between characters. For advanced focus techniques, see our spatial video shooting guide.
You still stay in control. At any time, you can tap a gray‑framed subject to switch focus right away. Tapping that subject again locks focus, so the phone does not decide to jump away later. If there is no face in the frame, you can tap any point on screen to choose a custom focus distance, which is handy for objects, food, or product shots.
“Think of Cinematic Mode as your on‑phone focus puller — helpful when you want emotion on screen, not just information.” — CinematicMode.com
What Can You Adjust Before And During Recording?

Cinematic Mode gives you several creative controls before you even hit record. These settings change how strong the blur looks, how smooth motion feels, and how bright the image appears. Learning them once makes every future shoot easier.
- You can adjust the simulated aperture, which controls blur strength. Tap the little f icon, then slide to a lower number for stronger background blur or a higher number for more of the scene in focus. This is the fastest way to tune how dramatic your Cinematic shot feels.
- You can set resolution and frame rate based on your needs. On supported models, you can choose 1080p or 4K and pick 24 or 30 frames per second for Cinematic Mode. According to Apple Support, 24 frames per second gives you the classic film‑style motion many people prefer.
- On the iPhone 16 series and later, you can use the physical Camera Control button. Sliding along this button lets you adjust depth of field while you record, without covering the screen with your finger. It feels much closer to pulling focus on a real cinema camera.
- You can fine‑tune exposure before recording starts. Hold on the screen to lock focus and exposure together, then slide up or down to brighten or darken the frame. Getting exposure right helps the depth map stay clean, which reduces strange blur around hair or glass edges.
Which iPhones Support Cinematic Mode?
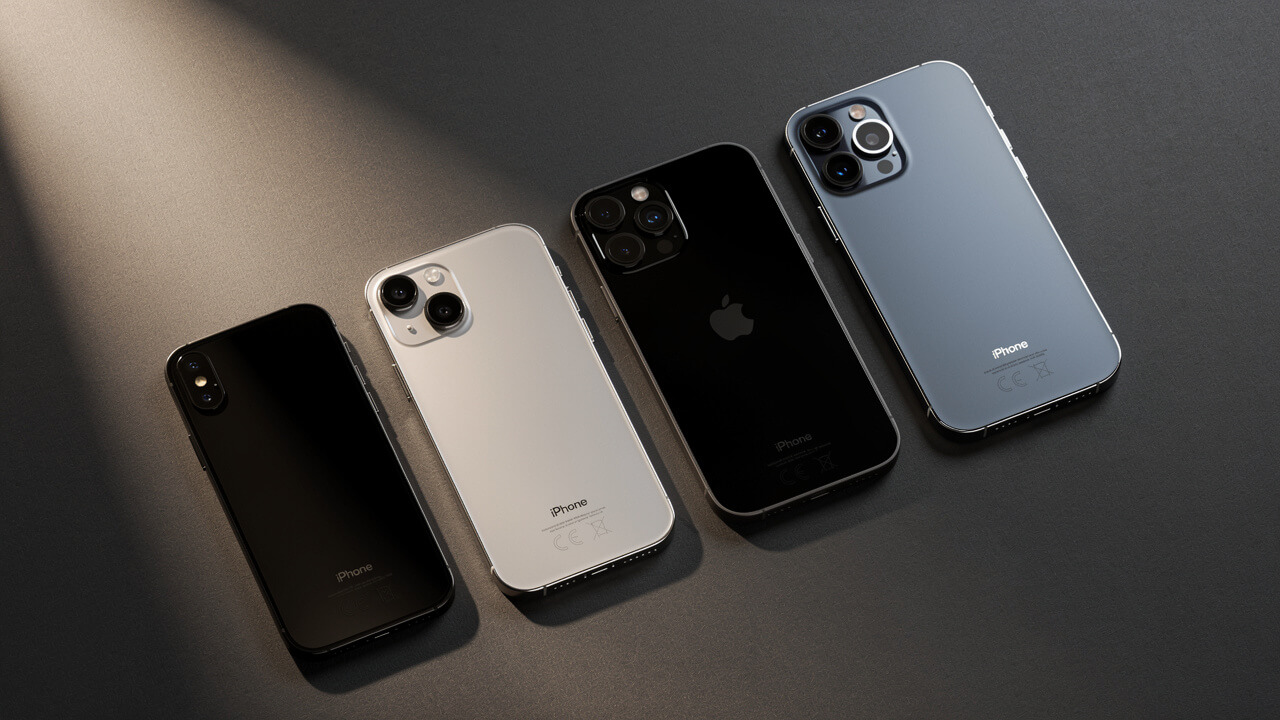
Cinematic Mode is only available on iPhone 13 and later models in the native Camera app. If you hold a supported phone, the mode appears as one of the options under Photo and Video. If you own an older device, you will not see Cinematic listed at all, so the cinematic mode vs video iPhone choice simply does not apply there.
According to Apple Support, the first generation to add Cinematic video was iPhone 13, which records this mode at 1080p and 30 frames per second. Later models such as iPhone 14 Pro and iPhone 15 Pro step this up to 4K HDR at 30 frames per second. All of these phones save the extra depth map needed for focus edits after the fact.
Pro and Pro Max models give you extra creative options inside Cinematic Mode. On phones such as iPhone 15 Pro, iPhone 16 Pro, and iPhone 17 Pro, you can tap 1x, 2x, or 3x to change focal length while keeping the depth effect active. Holding the 1x button shows a zoom dial so you can slide between framing options while you record.
These hardware differences matter in real use. A base iPhone 13 can still shoot pleasing Cinematic clips, but Pro phones with more lenses and faster chips track focus better in tricky scenes. If you are serious about mobile filmmaking, see our complete iPhone compatibility guide for details on each generation.
Can You Get Cinematic Mode On Older iPhones?
You cannot get native Cinematic Mode on iPhone 12, iPhone 11, or earlier through the built‑in Camera app. Apple limited this feature to iPhone 13 and later because it depends on the newer Neural Engine and image processor. No software update has changed that so far.
If you use an older Pro model with a LiDAR scanner, such as iPhone 12 Pro, you can still fake a similar look. Third‑party apps such as Focus Live read depth data from LiDAR and apply blur in software. You will need more time in post production, and the controls are not as smooth as Apple’s built‑in tools, but the finished videos can look close.
Our Cinematic Mode tips guide covers getting the best results from third-party apps. You will find advice on subject distance, lighting, and framing so your older hardware still produces film‑style clips.
When Should You Use Cinematic Mode Vs. Video Mode?
You should use Cinematic Mode when your subject is the story and you want the background to fade away. You should use regular Video Mode when the whole scene or the motion itself matters more than background blur. That is the real‑world rule behind the cinematic mode vs video iPhone decision.
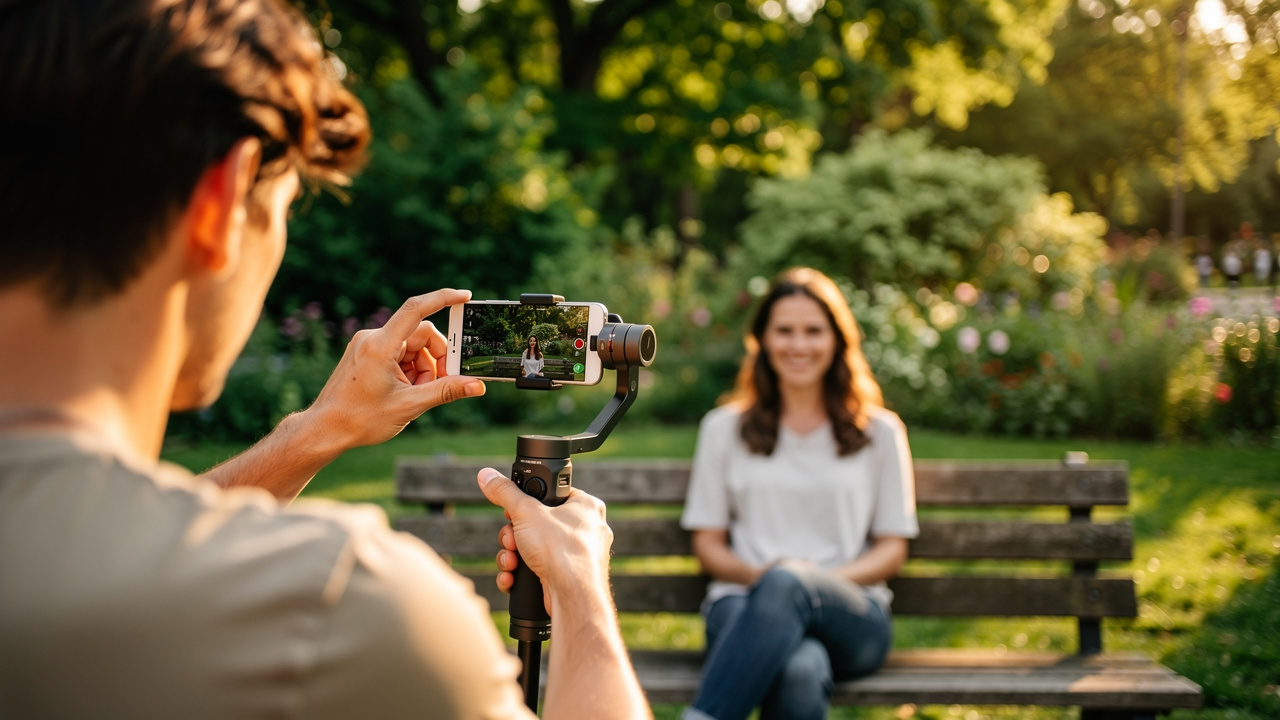
For subject‑driven content, Cinematic Mode helps guide the viewer’s eye. Think about a friend talking to camera, a chef plating food, or a product turning slowly on a table. The blur keeps distractions quiet while the yellow focus box follows the important action.
For movement‑driven scenes, Video Mode is usually the safer pick. Sports, kids running around a park, pets sprinting toward you, or a concert crowd pull focus in many directions at once. In these cases, deep focus and high frame rates matter more than blur. According to the iPhone 15 Pro tech specs from Apple, standard video records up to 4K at 60 fps, which gives you smoother motion and better slow motion than Cinematic Mode.
Lighting should also guide your choice. In bright light, Cinematic Mode has enough contrast to build a clean depth map. In dim rooms or at night, the Neural Engine struggles, noise increases, and focus can pump back and forth. When you see that, switch to normal video right away for cleaner clips.
CinematicMode.com often suggests thinking first about how you want someone to watch the scene. If you want them to read a face or object, reach for Cinematic. If you want them to see the whole environment or fast action, tap Video instead.
“Ask yourself, what should be sharp in this shot? The answer tells you whether to choose Cinematic Mode or Video Mode.” — CinematicMode.com
Use Cinematic Mode When…
Cinematic Mode shines when you want to highlight a person or object against a messy background. In these cases, the blur is not a gimmick but part of the story. Here are common times you should lean into it.
- You film a vlog on a crowded street. Background signs and people look busy and distracting. Blur turns that mess into soft color and keeps attention on your face.
- You record an interview or talking‑head clip. The subject sits a few feet from the camera, with objects behind them. Cinematic Mode keeps their eyes sharp while the room falls gently out of focus.
- You shoot a food reveal or product showcase for social media. You can lock focus on the plate or gadget while you move the phone slightly. The background blur makes everything feel more polished.
- You create a short film or dramatic scene. Starting in focus on an object, then shifting to a face, adds story without extra dialogue. Manual taps in Cinematic Mode give you that focus pull.
- You place a subject in front of a distracting background, such as a kitchen or office. Instead of cleaning the whole space, you let blur hide clutter. Our 10 Cinematic Mode tricks guide covers framing techniques for these setups.
Use Video Mode When…
Video Mode is your workhorse setting when reliability and motion matter more than blur. Any time you fear the focus box might jump to the wrong place, this is the safer choice. Here is where standard video really wins.
- You shoot sports or other fast action. Players move across the frame and change distance quickly. Deep focus and higher frame rates keep the footage sharp and smooth.
- You capture landscapes, city views, or architecture. In these scenes, you usually want the entire frame clear. Video Mode keeps mountains, buildings, and people all in focus.
- You film in low light such as concerts, birthday parties, or evening streets. The camera struggles to separate subjects in the dark when using depth maps. Regular video handles noise and focus much better here.
- You need slow‑motion clips for edits. Modes like 60, 120, or 240 frames per second live under standard video settings. Cinematic Mode cannot match those frame rates.
- You edit on Windows or use tools like Adobe Premiere Pro or DaVinci Resolve. These programs treat Cinematic clips as flat video and ignore depth data. Standard video avoids any surprise behavior when you leave the Apple world.
Can You Edit Cinematic Mode Footage After Recording?
Yes, you can edit Cinematic Mode footage after recording, and that is one of its biggest strengths. The iPhone saves a depth map with every clip, so focus and blur choices are not permanent. In the cinematic mode vs video iPhone debate, this post‑capture control is a major advantage for Cinematic.
When you open a Cinematic clip in the Photos app and tap Edit, you see a special timeline. A white dot shows the current focus point as the video plays. You can tap a different person or object at any frame, and the focus will smoothly shift there for the rest of the clip or until you change it again.
You can also change the simulated aperture after recording. Sliding the f value lower increases blur and makes the subject stand out more. Sliding it higher brings more of the scene back into focus. According to Apple Support, this change is non‑destructive, which means you can adjust it again later without harming the original capture.
If the blur looks strange around hair or glasses, you can even turn Cinematic effects off. In the same Edit view, you can disable the depth effect, and the clip becomes a normal deep‑focus video. This safety net is helpful for events you cannot reshoot.
Our how to make cinematic videos guide walks you through the complete editing workflow. The site walks through grading Dolby Vision HDR clips, matching shots, and exporting for different platforms, so you squeeze as much value as possible from that extra depth data.
How To Edit Cinematic Mode Videos In Final Cut Pro
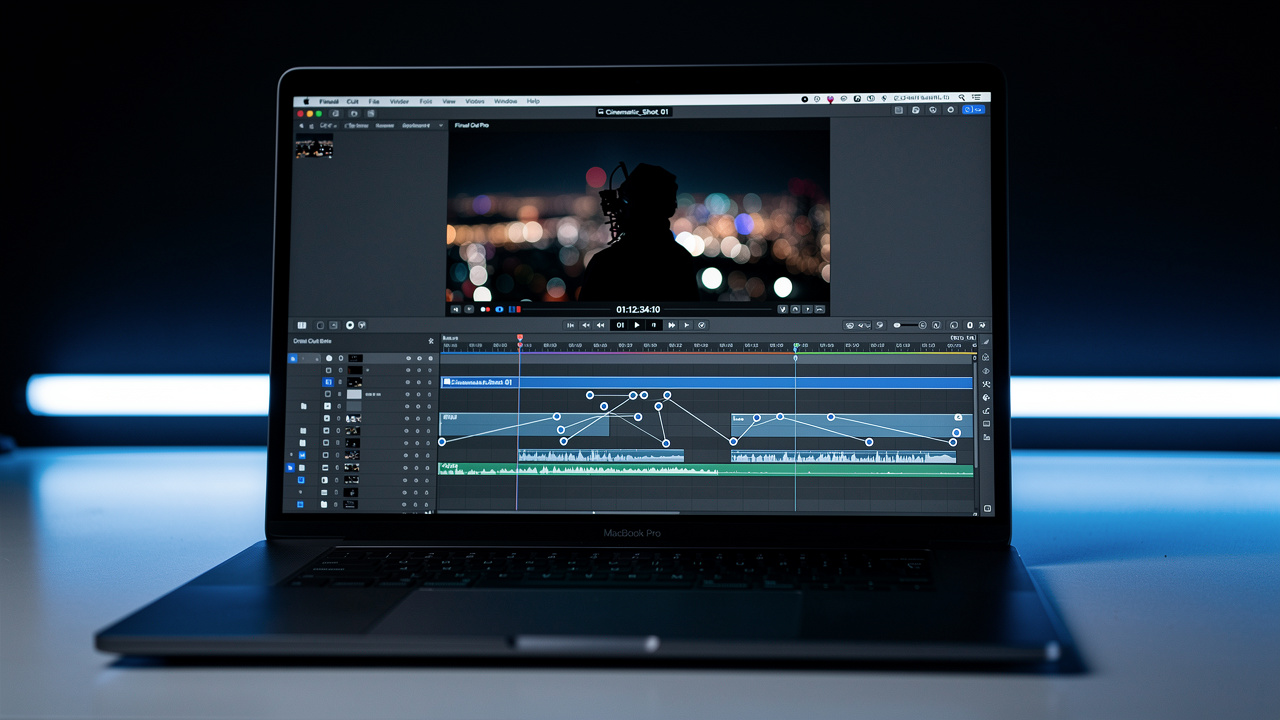
Editing Cinematic Mode clips in Final Cut Pro gives you deeper control over focus and color. To do that, you need the right Mac and project setup. According to Apple Support, you should use Final Cut Pro 10.6 or later on a Mac with Apple silicon and macOS Monterey or newer.
After importing your clips, make sure the Library color space is set to Wide Gamut HDR. Then create your project with the Wide Gamut HDR Rec. 2020 HLG setting instead of standard Rec. 709. If those settings do not match the HDR format from your iPhone, the Cinematic inspector panel stays grayed out and you cannot adjust focus.
When the project is set correctly, you can open the Cinematic inspector to keyframe focus points and change the simulated f value along the timeline. Always AirDrop or copy the original file from your iPhone so the depth metadata stays intact. If you export through an app that strips metadata, Final Cut Pro will see only a flat video clip with no extra controls.
What Are The Real Limitations Of Cinematic Mode?
Cinematic Mode is powerful, but it brings real limits that you should know before using it everywhere. The main issues are edge‑detection errors, weak low‑light performance, capped frame rates, larger files, and Apple‑only depth editing. Knowing these ahead of time helps you decide when regular video is safer.
Edge detection is the first problem many people notice. The depth map sometimes struggles with frizzy hair, glasses frames, or objects with holes and fine lines. You may see parts of your subject blur or sharpen at the wrong time. Raising the f value to reduce blur softens these mistakes and makes them less distracting.
Low light is the second big pain point. The Neural Engine needs clean contrast to separate subject from background, and that fades when the scene gets dark. According to testing from DXOMARK, phone camera sensors remain much smaller than full‑frame camera sensors, which hurts low‑light performance in general. In Cinematic Mode, that size limit shows up as grainy noise and focus hunting, where the camera keeps pulsing in and out.
Frame rate and storage also matter. Cinematic Mode is usually limited to 24 or 30 frames per second, so it cannot match the smoother look of 60‑fps sports footage or high‑speed slow motion. Each Cinematic clip also stores a depth map, so it uses more storage than a standard video of the same length. On top of that, only Photos, iMovie, and Final Cut Pro read the depth data, as noted by Apple Support, while other editors treat the file like normal video.
Frequently Asked Questions
Does Cinematic Mode reduce video quality compared to regular Video Mode?
Cinematic Mode does not reduce base image quality compared to Video Mode on supported iPhones. It still records high‑resolution HDR video, including up to 4K at 30 fps on newer models. The change is the added depth effect, which can introduce more noise and artifacts in low light because of the extra processing work.
Can you turn off the blur in Cinematic Mode after recording?
Yes, you can turn off the blur in Cinematic Mode after recording. Open the video in the Photos app, tap Edit, and disable the Cinematic effect. The clip will then look like a normal deep‑focus video while still keeping the original data safe in case you want to restore the blur.
Does Cinematic Mode work with all three cameras on iPhone Pro models?
On recent Pro models, Cinematic Mode works across several focal lengths, not just the main camera. Phones such as iPhone 15 Pro and iPhone 16 Pro let you switch between 1x, 2x, and 3x while keeping the depth effect active. Exact options vary by model, but Pro hardware always gives you more flexibility.
Is Cinematic Mode good for filming events like weddings or birthdays?
Cinematic Mode is great for controlled moments at events, such as vows, speeches, first dances, or the cake cutting. These scenes have clear subjects and slower movement, which the depth map handles well. For fast dance floors, kids running, or crowded group shots, regular Video Mode is safer and more reliable.
Why is Cinematic Mode greyed out on my iPhone?
If Cinematic Mode is missing or greyed out on your iPhone, you may be on an older device that does not support it. Only iPhone 13 and later models have this feature in the Camera app. If you do have a supported phone, update iOS and restart before you test again.
The Bottom Line: Choose The Right Mode For The Shot
The simple rule is this. Use Cinematic Mode when your subject is the story, and use regular Video Mode when the whole scene or the motion is the story. That is the heart of every cinematic mode vs video iPhone choice you will face.
Once you understand both modes, you stop guessing and start picking the right tool for each clip. Try shooting the same moment twice, once in Cinematic and once in Video, and compare how they feel. For deeper tips on framing, focus tricks, and editing flows, check out our Cinematic Mode tips and shooting techniques.
Conclusion
The cinematic mode vs video iPhone choice is less about which one is better and more about what you want your viewer to feel. Cinematic Mode gives you shallow depth of field, focus pulls, and post‑capture control, as long as light is good and motion is not too wild. Video Mode trades that blur for speed, stability, and simpler files that fit any edit system.
The smartest approach is to think ahead before every shot. Ask yourself whether the audience should follow a face or watch the whole space, then pick the mode that matches that answer. Over a few days of practice, this decision becomes second nature.
Use this guide as your base, then refine your skills with the practical breakdowns on CinematicMode.com. With a bit of testing, you will know exactly when to tap Cinematic and when to tap Video, and your iPhone footage will look far more deliberate because of it.