
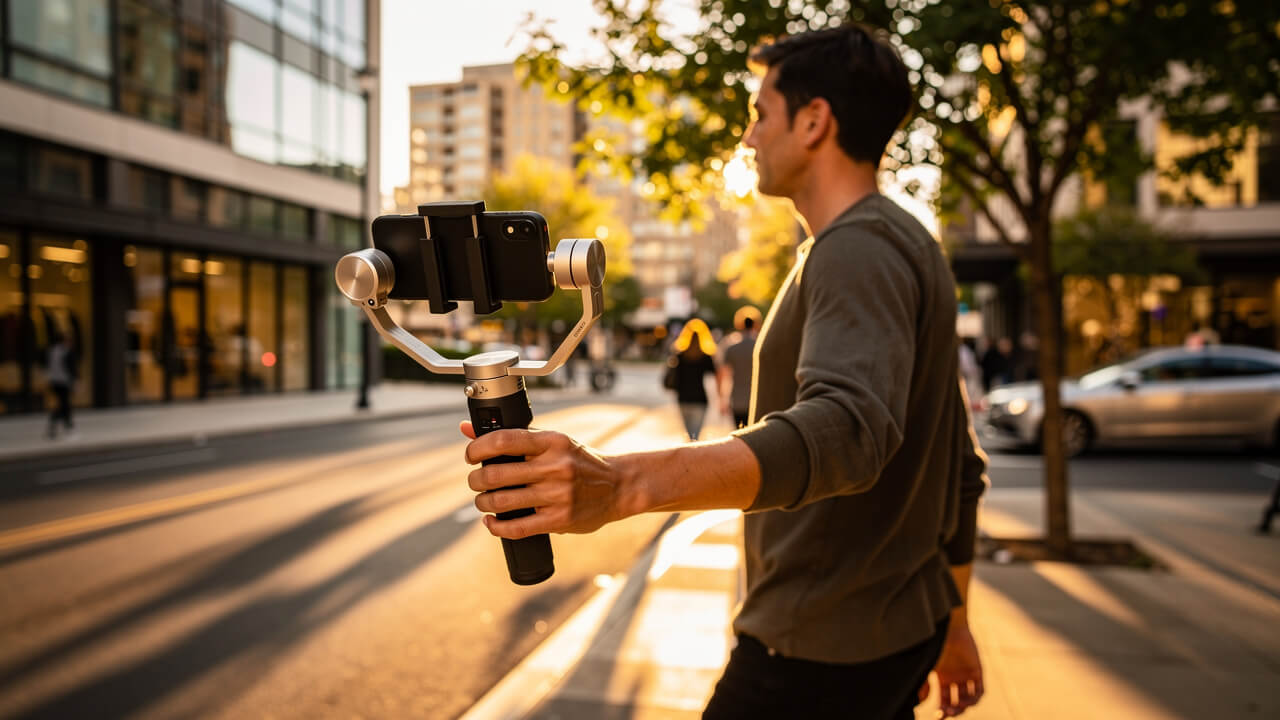
You turned on Cinematic Mode, pointed at your subject, and the focus jumped to the wrong person. That one moment ruins the shot and makes Cinematic Mode feel random.
You do not need random. You need clear iPhone Cinematic Mode tips that put you in charge. In this guide I show you how I actually shoot on my iPhone: focus control, the right Cinematic Mode settings, smart lighting, clean camera moves, and simple post tricks that kill the “shot on a phone” feel. First, understand the difference between Cinematic and Video modes, then apply these tips.
These iPhone Cinematic Mode tips cover everything from focus control to color grading.
You get a full workflow you can repeat on any shoot, from setup to final grade.
Ready to stop fighting your camera and start directing your frame instead? Keep reading.
Key Takeaways
Before we dive into details, here is the fast version of what you will learn and use:
- Lock focus on the right subject by tapping the gray frame, then double tapping to keep that person sharp even when others walk in.
- Set 4K at 24 frames per second, then bias exposure a bit dark (around -0.7) so your footage already looks like a movie before you start to grade.
- Turn on Apple ProRes Log in Video mode on a supported iPhone when you want full control in color grading. Note: ProRes Log is not available in Cinematic Mode itself.
- Shape soft light on your subject and frame with foreground, midground, and background so the depth effect looks natural instead of plastic.
- Add motion blur and halation in post so your video no longer screams “smartphone” and can sit next to camera footage without standing out.
What Is Cinematic Mode And How Does It Actually Work?
Cinematic Mode uses depth mapping and subject tracking to blur foreground and background while it keeps your main subject sharp. Your iPhone does not use real optical blur here; it uses its chips to fake shallow depth of field in real time.
The phone reads depth with multiple lenses and LiDAR or advanced scene analysis (depending on model) and builds a live depth map. It then decides what to sharpen and what to blur. You see that choice as colored boxes on your screen when you record.
- The yellow frame marks the subject that stays in focus.
- Gray frames mark other faces or objects that the phone spots but keeps soft for now.
When you tap a gray frame, your iPhone pulls focus to that subject and turns that box yellow. That move gives you a classic rack focus that you see in films.
Understanding Automatic vs. Manual Focus Control
Automatic focus in Cinematic Mode feels fast, but it often picks the wrong face. Manual focus control turns you into the focus puller, not the phone.
When you want the camera to change subjects mid‑shot, tap the gray box on the new person. Your iPhone glides focus over and now tracks that face with a yellow frame. If you want to hold focus on that person no matter what, double tap their box and lock focus on them.
When you shoot products or objects, tap right where you want focus instead of waiting for a gray box. Your iPhone then sets that object as the star of the frame. For static scenes, touch and hold on your focus point until you see AF/AE Lock, so focus and exposure stay fixed at that distance.
How To Set Up Cinematic Mode The Right Way Before You Record
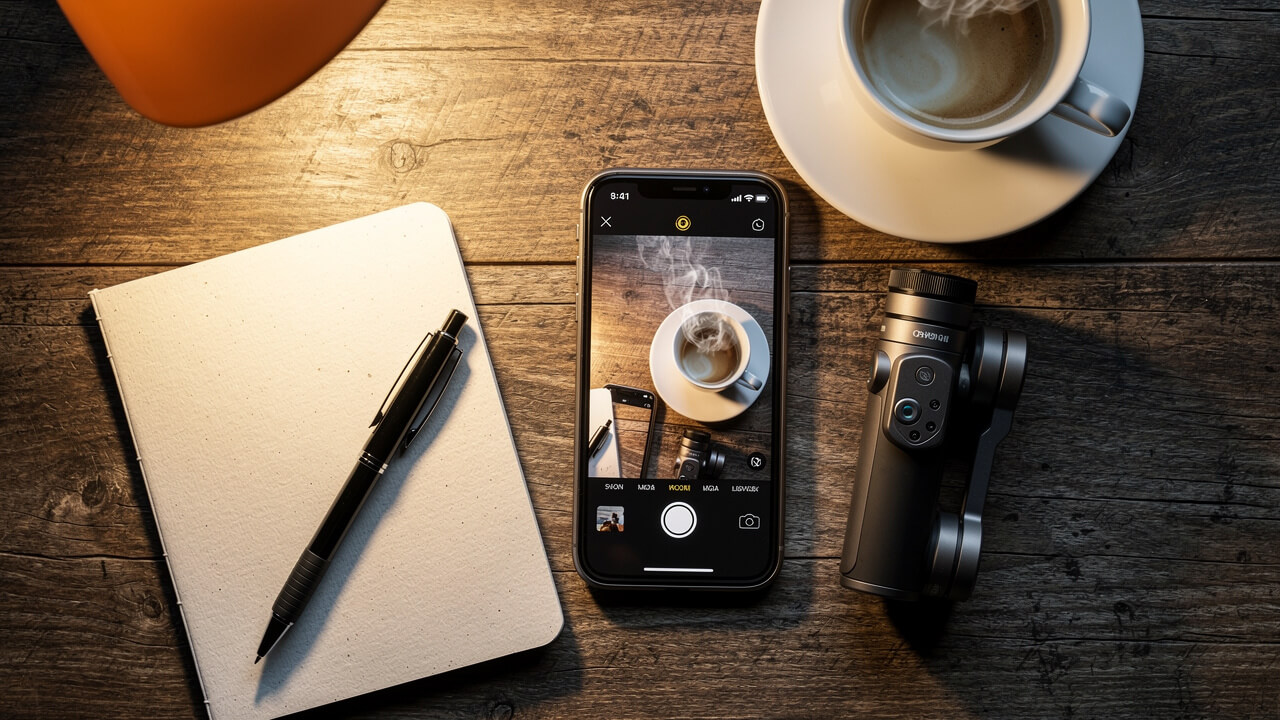
Strong cinematic clips start before you hit record. You set your base settings once, then you stop messing with menus during a take.
For most shoots, you want three things before anything else:
- 4K resolution
- A film‑style frame rate
- Safe exposure that keeps your highlights from blowing out
When you dial those in, every clip already feels closer to proper camera footage.
Do this:
- Open the Camera app, swipe to Cinematic, then set resolution to 4K on screen.
- Set your frame rate to 24 frames per second for a classic film look.
- Go to Settings → Camera → Preserve Settings and turn on Exposure Adjustment so your bias stays locked.
Now hop back into the Camera app and slide exposure down to around –0.7 EV. I do that on every new phone on day one. Your preview may look a little dark, but your skies keep detail and faces do not clip into white. When you grade later, you can lift shadows with far less noise.
You can build more advanced workflows with extra iPhone Cinematic Mode tips, but this base setup rarely changes. Once you lock it in, you spend your time on framing and performance, not on trying to rescue broken files later.
Which Resolution And Frame Rate Should You Use?
For Cinematic Mode you should always choose 4K, not 1080p. You gain more detail, you can crop and reframe in edit, and your shots still hold up on big screens.
Set 4K at 24 fps if you want that classic movie feel. Motion looks a bit softer and more natural than 30 or 60 fps, which often feels like live TV.
When you shoot Apple ProRes Log in regular Video mode on an iPhone 15 Pro or newer, you may notice 4K 24 fps stutter a bit during fast movement. In that case I shoot 4K at 30 fps instead. Later I either:
- Drop that clip on a 24 fps timeline (for a slight motion cadence shift), or
- Slow it to 80% speed for a subtle slow‑motion feel.
You keep smooth motion and still land in a film‑style frame rate.
Tip: Pick one frame rate per project. Mixing 24, 30, and 60 fps without a plan makes your edit feel messy and hard to grade consistently.
Should You Shoot In Apple ProRes Log?
Apple ProRes Log gives you the most flexible files your iPhone can record in regular Video mode. The image looks flat, gray, and low contrast on purpose so you can shape it later in color.
When you shoot Log, your iPhone keeps more detail in bright skies and dark shadows at the same time. You gain far more room to push color, adjust skin tones, and match other cameras. These files take more space and need a real edit, but serious projects benefit from that control.
I use ProRes Log when I shoot music videos, spec ads, or anything for a client. I want room to match a look, create a mood, and deliver solid images after heavy grading. When I just capture family clips or quick behind‑the‑scenes moments, I stay in the normal format and keep storage free.
Right now, Cinematic Mode itself does not record in ProRes Log. Think of them as two powerful but separate tools:
- Use Cinematic Mode when you want automated depth‑of‑field effects and editable focus.
- Use ProRes Log in Video mode when you care more about dynamic range and color grading than depth blur.
Sites like Cinematic Mode break down 10 Cinematic Mode tricks around this combo, and I stack those ideas into my own iPhone Cinematic Mode tips.
How To Enable ProRes Log And Set Your Codec Correctly
You need the right model for ProRes Log, so first check your phone. iPhone 15 Pro, iPhone 15 Pro Max, and newer Pro models give you this option for Video mode.
To turn it on:
- Open Settings → Camera → Formats, toggle on Apple ProRes, then pick Log as the encoding option.
- Scroll to the bottom of the same screen and change Capture Format from High Efficiency to Most Compatible if you want smoother editing in Premiere Pro, Final Cut Pro, and DaVinci Resolve.
- Open the Camera app, select Video, and in the on‑screen controls choose ProRes Log so your next clips record in Log. (Cinematic Mode will still use its own codec.)
- Watch your storage and use this mode with intent, because these clips eat space fast compared to standard files.
Cinematic Mode Focus Control: How To Pull Focus Like A Pro
Cinematic Mode feels like a magic trick when you control focus on purpose. Focus pulls let you decide where the audience looks, frame by frame.
Start your shot with your hero in focus and a yellow box on their face. When you want to reveal a second subject, tap their gray box at the right beat. Your iPhone pulls focus to that person and now tracks them. This single move sells the “cinematic” in Cinematic Mode.
If a new person steps in and you want to hold the first subject, double tap their face. That tells the phone to ignore new faces and keep that focus lock. You guide attention like a real focus puller instead of hoping autofocus reads your mind.
You can also pull focus between objects, not just faces. Tap a close object, then a far one, and you get smooth transitions. Small moves like that give your clips a story feeling, not just a camera test.
How To Re‑Edit Focus And Depth In Post‑Production
The wild part of Cinematic Mode lies in what you can fix after you shoot. Your iPhone saves a depth map along with the video, so focus choices stay flexible.
To change focus in the Photos app:
- Open Photos, pick your Cinematic clip, then tap Edit to load the special timeline.
- Scrub to the moment you want to adjust, then tap the subject you want sharp and let the focus shift update.
- Double tap that subject if you want the clip to keep tracking them as the main focus until the end.
- Tap the f icon and slide the virtual f‑stop higher, like f/4 or f/5.6, if the blur looks fake around hair or glasses, or slide lower if you want extra bokeh.
For deeper control, you can send the clip to Final Cut Pro on a Mac. Apple lets you adjust focus points and depth there as well, and guides on Cinematic Mode walk through full workflows.
Camera Settings That Separate Pro Footage From Amateur Footage
Small settings changes create a big gap between pro‑looking footage and “phone video.” You only set them once, then your iPhone remembers.
Start with HDR Video. Apple turns HDR Video on by default, and it often makes skin look harsh and overcooked on some screens. Go to Settings → Camera → Record Video and turn HDR Video off. Your files now grade more like normal footage and match other cameras more easily.
Next, fix auto white balance drift. When your phone keeps guessing color temperature, clips shift from cool to warm mid‑shot and your grade falls apart. Use camera controls or a pro app that let you lock white balance for each scene. Pick a value that matches your key light and keep it steady.
You already set exposure to around –0.7 EV earlier. Keep that habit. With highlight‑safe files, you gain more room in post, especially when you grade aggressively.
Finally, turn on Enhanced Stabilization in Settings → Camera → Record Video, so slow handheld moves stay smooth without strange wobble.
Which iPhone Lens To Use For Cinematic Mode – And How To Lock It
Your lens choice changes everything about your cinematic clip. On my shoots I treat the 1x Main camera as my default.
- Use the 1x Main lens for almost every Cinematic Mode shot. That lens has the biggest sensor, fastest aperture, and cleanest image in low light.
- Avoid the 5x telephoto when light drops, because that lens needs much more light and quickly gives you noisy, soft footage.
Cinematic Mode does not support the 0.5x ultra‑wide natively on most models. You stay between the Main and telephoto options when you want depth blur.
To stop your phone from jumping between lenses mid‑shot:
- Go to Settings → Camera → Record Video.
- Turn on Lock Camera.
If you need a tighter frame, move your feet closer instead of punching in with a weaker lens.
Lighting And Composition Tips That Make Cinematic Mode Shine
Your lighting choices matter more than any Cinematic Mode setting. I prove this every time I shoot with an older iPhone and still get strong clips.
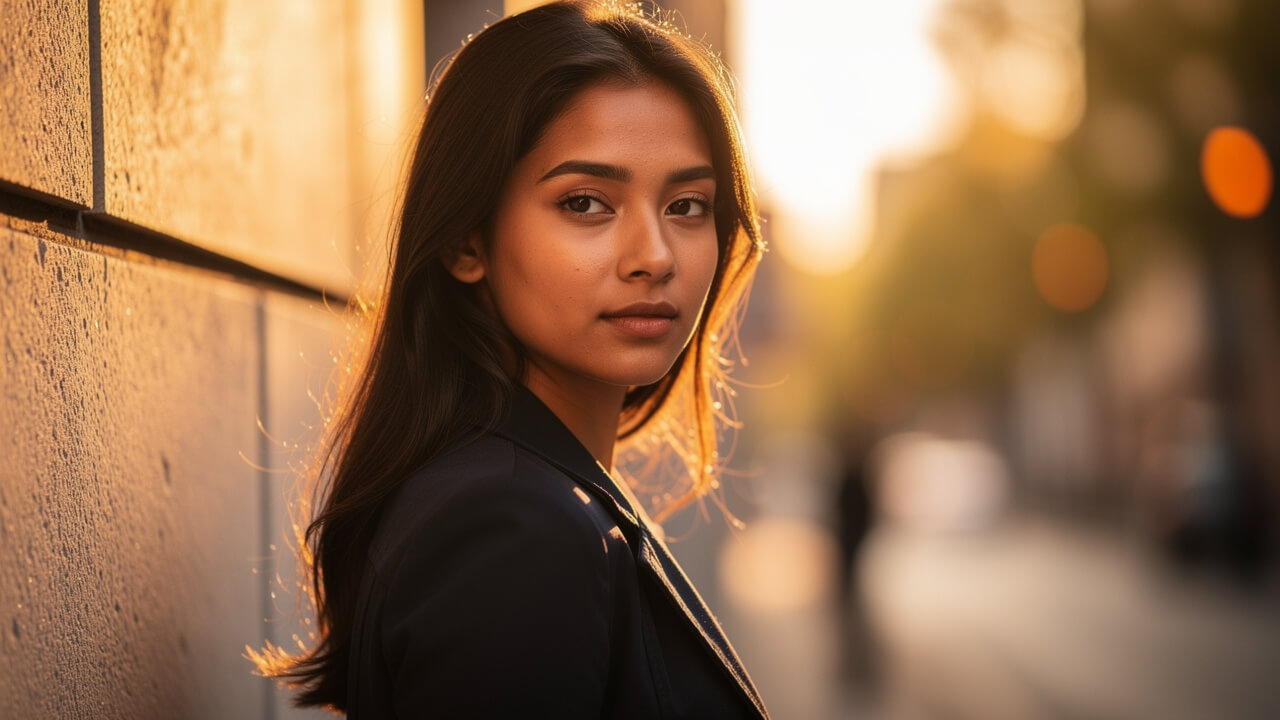
Plan your shoot time when you can. Aim for golden hour, early morning or late afternoon, so the sun sits low and gives soft side light. That light wraps around your subject and makes depth blur feel natural.
If you must shoot under hard noon sun, move your subject into open shade. Put them next to a building or under a tree so the light softens. Clean, even light on the face lets Cinematic Mode draw a nicer edge between subject and background.
Use the shadow side trick to add shape:
- Place your subject so the light hits from one side.
- Move your camera to the opposite side and shoot into the shadow.
You get depth, contrast, and a three‑dimensional feel without fancy gear. Guides on Cinematic Mode talk about this a lot, and I still use it on every shoot.
Composition Rules That Make The Depth‑Of‑Field Effect Look Real
Composition decides how real your blur feels. Good framing gives your iPhone clean edges to work with.
Turn on the Grid in Settings → Camera → Grid so you see the tic‑tac‑toe lines. Place your subject on a vertical line instead of dead center, and line up their eyes near a top intersection. This small move adds energy and tension to your frame.
Look for leading lines in your scene:
- Roads
- Hallways
- Railings
- Fences
Anything that points toward your subject pulls the viewer into the shot. For extra depth, place something close to the lens, like a plant or door frame, so Cinematic Mode throws it way out of focus.
Pay attention to contrast between subject and background. Put a dark shirt against a bright wall or a bright face against a darker room. With clear separation, the depth map has a much easier job and you see fewer strange blur halos.
How To Move The Camera Without Ruining The Shot
Camera movement either sells your shot or kills it. Random pans scream “phone video,” while motivated moves feel like story.
Tie every move to a reason:
- Push in slowly when your subject gets emotional.
- Pull out when you want to reveal context.
- Walk beside your subject when they move so the viewer feels like they travel with them.
Turn on Enhanced Stabilization in Settings → Camera → Record Video for handheld work. This feature cleans up most slow moves if you already walk smoothly. When you push faster, like running shots or quick tracking, software starts to warp edges and blur depth maps.
Use a gimbal or a simple filmmaker cage for high‑energy moves. Extra weight gives you smoother motion, and a cage lets you hold the phone with two hands. Smooth moves also help Cinematic Mode keep up with the depth map, so focus and blur do not glitch.
If you use a newer iPhone that has a dedicated Camera Control button, map it so you change exposure, ISO, or zoom without poking the screen. You keep your framing steady and still adjust settings live when light changes.
Post‑Production Color Grading And Effects That Remove The Smartphone Look
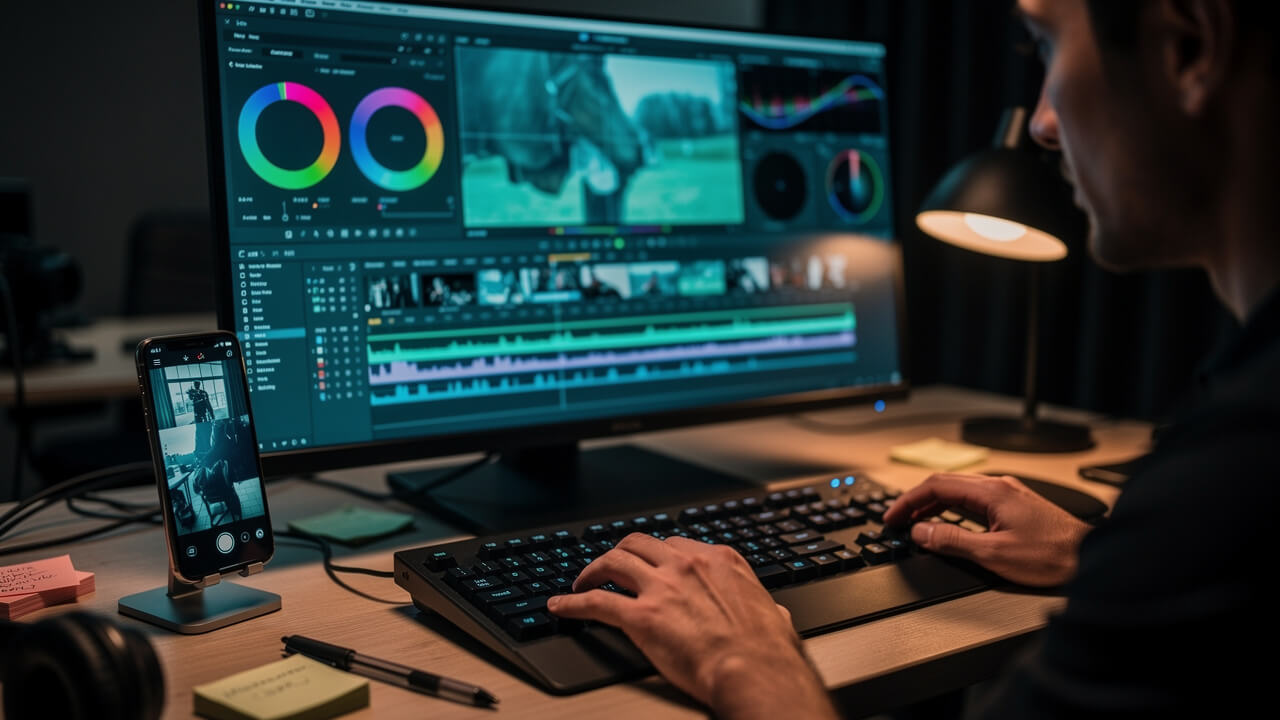
Post‑production is where your Cinematic Mode clips stop looking like phone video. Color grading and a few key effects give your footage a finished, film‑style feel.
Start by normalizing your Apple ProRes Log clips in your editor of choice (for Cinematic Mode clips you still follow the same grading steps, just with less dynamic range). In DaVinci Resolve or Final Cut Pro, use the color wheels to set exposure:
- Pull the shadows down until black areas sit just above pure black.
- Push highlights up until they feel bright without clipping.
Next, set your midtones so skin looks natural. Add contrast and saturation until the image feels alive but not cartoonish. Because Log holds so much color detail, you can push the grade far more than normal phone video. This step alone already separates your clip from basic iPhone footage.
Then you shape the mood:
- Cool down shadows for a modern thriller style.
- Warm them up for a cozy, nostalgic look.
When you lock white balance on set, your grade moves stay stable through the whole clip. Many of the iPhone Cinematic Mode tips on Cinematic Mode focus on this match between capture and grade.
How To Apply Halation And Motion Blur For A Film Look
Once you grade, you can add two secret weapons. Halation and motion blur do a lot of quiet work on the image.
Use a halation plugin in DaVinci Resolve or similar software. Set it to add a soft, warm red glow around bright lights and high‑contrast edges. Street lamps, car lights, and windows start to feel closer to real film stock.
For motion blur, add an effect like RSMB (ReelSmart Motion Blur) on clips that feel too crisp. The plugin reads movement frame by frame and adds blur where things move quickly. This fix helps most with outdoor shots where your iPhone raised shutter speed so high that every frame froze like a photo.
On mobile, apps like LumaFusion, FilmoraGo, and Adobe Premiere Rush give you solid grading and basic blur or glow effects. You may not get full halation, but you can still soften highlights and add a hint of blur. Combine these tools with your on‑set habits, and your iPhone Cinematic Mode tips now cover the full path from capture to polish.
Wrapping It All Up: Your Cinematic Mode Workflow Starts Now
You now have a complete Cinematic Mode workflow from first tap to final export. You set up your phone once, you shoot with purpose, and you finish strong in the edit.
Start each project by locking 4K, your frame rate, exposure, white balance, HDR off, and Lock Camera. On set, direct focus with yellow and gray boxes, hold key faces with double taps, and control movement with smooth, motivated camera moves. Light your subject well, frame with depth and contrast, and let the depth effect support the story instead of distract from it.
In post, fix any focus misses, tweak virtual aperture, then grade your image and add motion blur and halation when you can. That loop turns random tests into short films, reels, and client pieces. For deeper dives on any step, from color grading to “10 tricks Apple never told you,” check out the guides at Cinematic Mode. Now open your Camera app, switch to Cinematic Mode, and apply just one tip from this guide on your next clip.
Bookmark this page and come back to these iPhone Cinematic Mode tips before every important shoot.
Frequently Asked Questions
Which iPhones Support Cinematic Mode?
You get Cinematic Mode on iPhone 13 and newer models. For Apple ProRes Log in regular Video mode, you need at least an iPhone 15 Pro or iPhone 15 Pro Max, or a newer Pro model. On newer iPhones that add a Camera Control button, you also gain fast, tactile camera changes.
Can You Use Cinematic Mode With The Front Camera?
No. Cinematic Mode only works with the rear camera system. The front TrueDepth camera does not support it. If you want background blur on a selfie-style video, use Portrait mode in the standard Video setting instead.
Why Does The Background Blur Look Fake Or Glitchy In Cinematic Mode?
You often see fake‑looking blur when the AI struggles with tiny edges like hair, glasses, or tree leaves. To help it:
- Raise the simulated f‑stop to around f/4 or f/5.6 so blur softens and artifacts shrink.
- Frame your subject against a contrasting background, not a similar color or busy texture.
- Keep edges clean by lighting the subject a bit brighter than the background.
Does Cinematic Mode Work Well In Low Light?
Cinematic Mode works, but depth maps get less accurate when light drops. You should stick to the 1x Main lens in low light, because that lens gathers the most light and keeps noise down. Move closer to your light source, clean your lenses, and avoid fast movement to keep focus reliable.
Can You Edit Cinematic Mode Videos In Third‑Party Apps?
You can edit Cinematic Mode videos in several third‑party tools:
- Final Cut Pro on Mac gives you precise control over focus and aperture data from these clips.
- On mobile, LumaFusion, FilmoraGo, and Adobe Premiere Rush handle color grading and effects.
- DaVinci Resolve on desktop shines for deep Log grading when you also shoot ProRes Log in Video mode.
Use Photos or Final Cut Pro when you need to adjust focus points and depth; then round‑trip to your favorite editor for the final grade and finishing work.